Perform this procedure if you want to do a factory reset.
Prerequisites
- Home Assistant Green
- Micro SD card
- PC with internet access
- You have created a backup and stored it on another system.
Notice: This process overwrites the disk on your Green. Unless you create a backup, you will lose all data and configuration settings.
Copying the Home Assistant Green OS to the SD card
Step 1
Downloading the required software
- To download the Home Assistant Green OS installer, paste this URL into your browser.
- To start the download, select the file green-installer-20240410.img.xz
- Download and start Balena Etcher.
- You may need to run it with administrator privileges on Windows.
Step 2
Selecting the image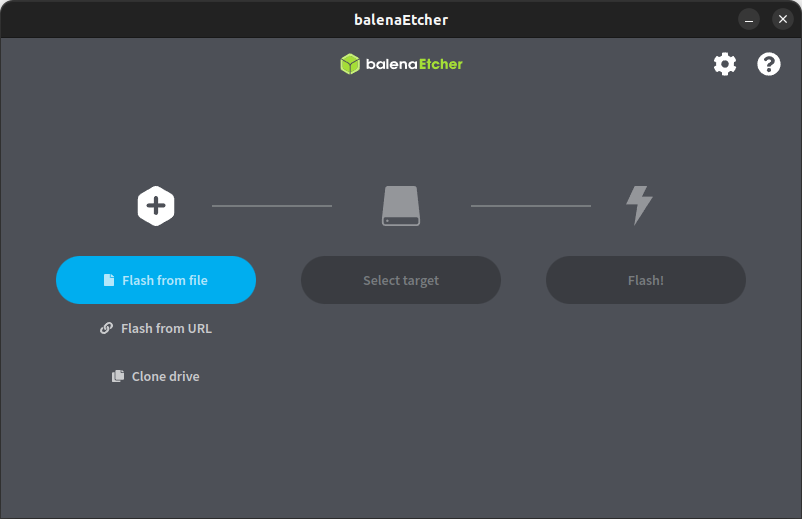
- Select Flash from file and select the image you just downloaded.
Step 3
Selecting the target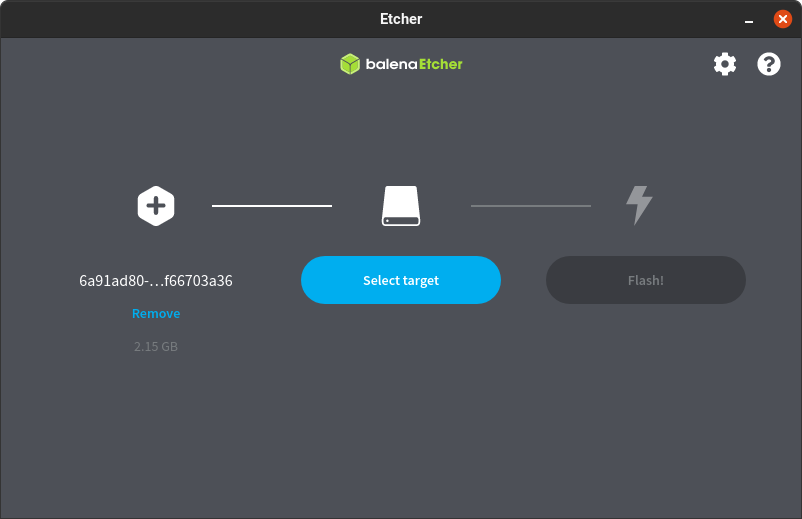
- Insert the SD card to your computer
- Select the Select target button and select the SD card as target.
Step 4
Writing the image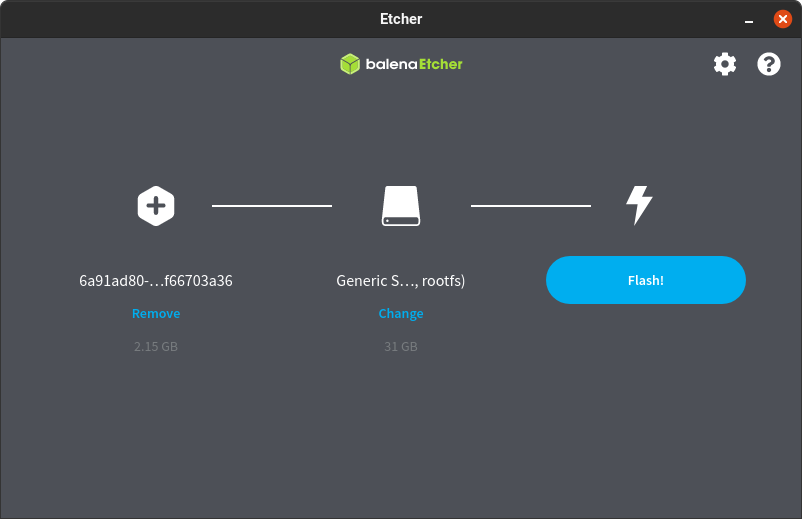
- To start writing the image to the SD card, select Flash!.
Step 5
Flash complete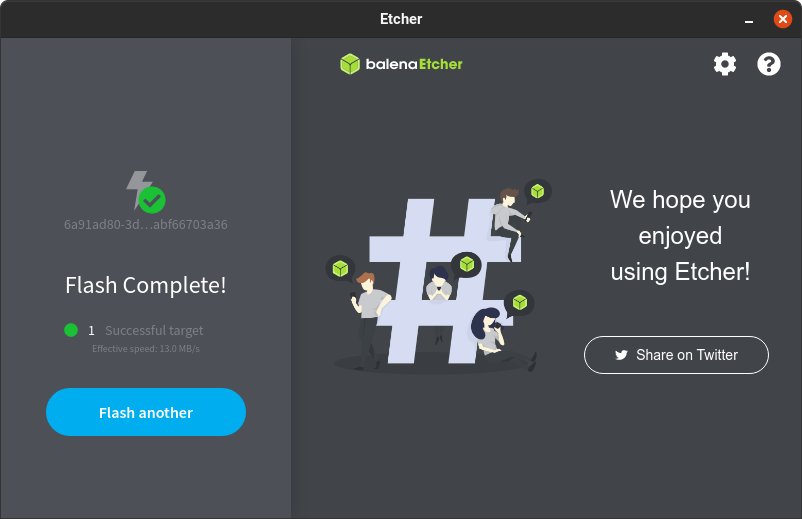
- Once Balena Etcher has finished writing the image, you will see a confirmation.
- You can now remove the SD card.
Resetting the device
Step 1
Shutting down the system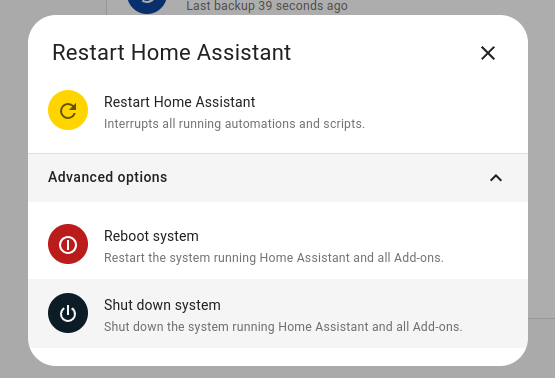
- In your Home Assistant UI, go to Settings > System and select Shutdown system.
- Wait until all the LEDs turned off.
- In case the shutdown via UI should not work:
- To shutdown gracefully, press the power button for 6 seconds.
- For a hard shutdown (do this only if all else fails), press the power button for 12 seconds.
Step 2
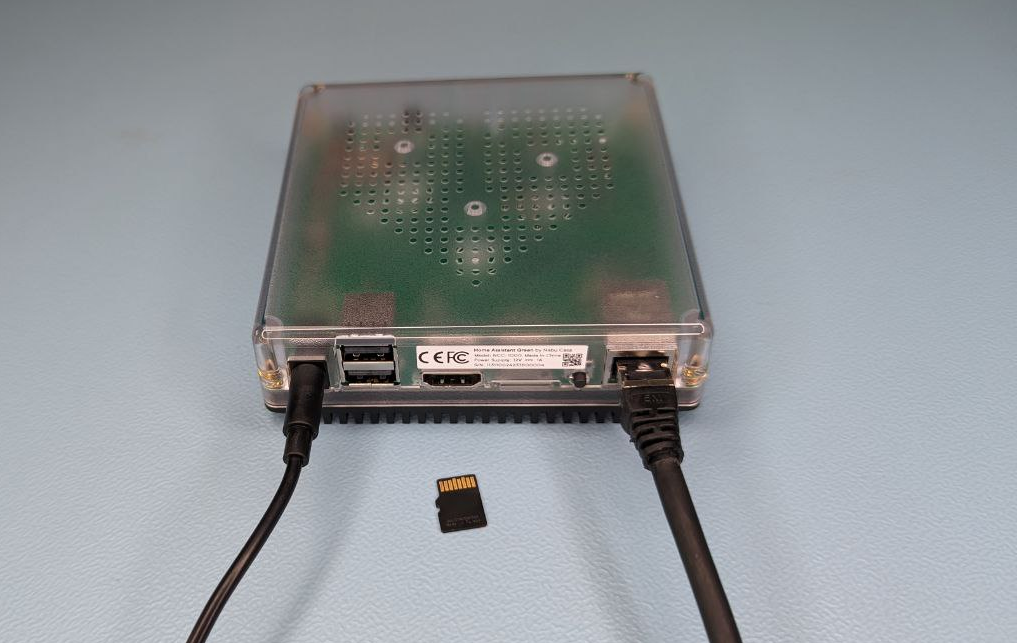
Inserting the SD card
- Insert the SD card with the Home Assistant Green OS installer.
- Make sure the Home Assistant Green is connected to the Internet.
Step 3
Powering up the system
- Press the power button.
- The operating system is being written to the eMMC.
- During this time, the yellow LED is blinking fast.
- Wait for the LEDs to turn off.
Step 4
Removing the SD card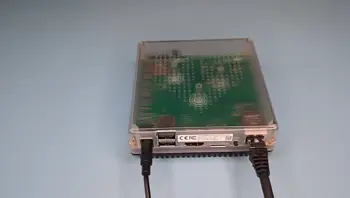
- When the LEDs turn off, the operating system has been written to the eMMC.
- Remove the SD card.
Step 5
Powering up the system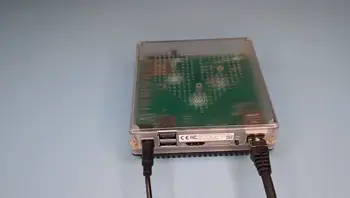
- Press the power button.
- Once the yellow LED blinks in a heartbeat pattern, the system is ready.
Step 6
Getting started with Home Assistant
- Initial startup may take a while, depending on your internet connection.
- Install the appTo access Home Assistant from your mobile device, use the QR code to locate the app in the app store.
- Select your Home Assistant server:
- Mobile: Confirm the IP address detected by the app. For example
http://192.168.1.196:8123
- Mobile: Confirm the IP address detected by the app. For example
- Desktop: Visit http://homeassistant.local:8123 to access the Home Assistant user interface.