Perform this procedure if you want to do a factory reset your device.
Prerequisites
- Home Assistant Green
- microSD card
- Memory card reader for microSD (your computer might have an integrated card reader, otherwise use an external one)
- Computer with internet access
- You have created a backup and stored it on another system
Note
This process overwrites the complete internal disk on your Green and installs the latest version of Home Assistant OS. Unless you create a backup, you will lose all data and configuration settings. After installation your Green will be in the same state as when you first received it, but with the latest version of Home Assistant OS installed.
Copying the Home Assistant Green OS to the SD card
Step 1
Downloading the required software
- To download the Home Assistant Green OS installer, paste this URL into your browser.
- To start the download, select the file green-installer-20240410.img.xz
- Download and start Balena Etcher.
- You may need to run it with administrator privileges on Windows.
Step 2
Selecting the image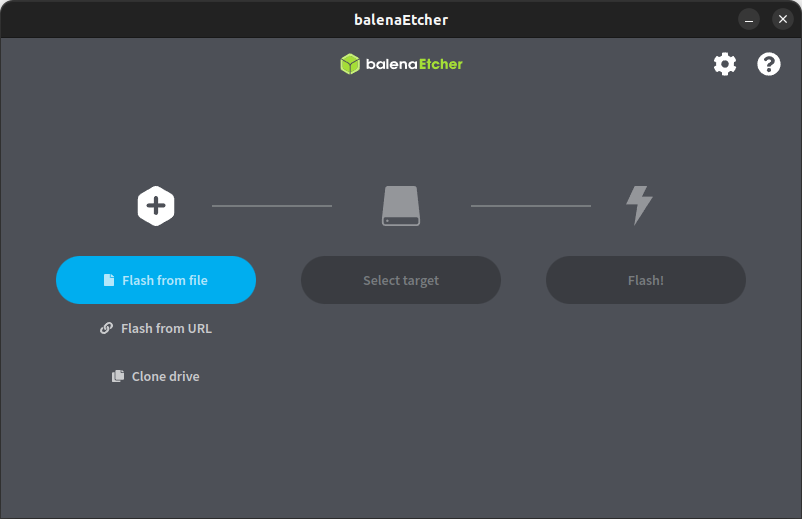
- Select Flash from file and select the image you just downloaded.
Step 3
Selecting the target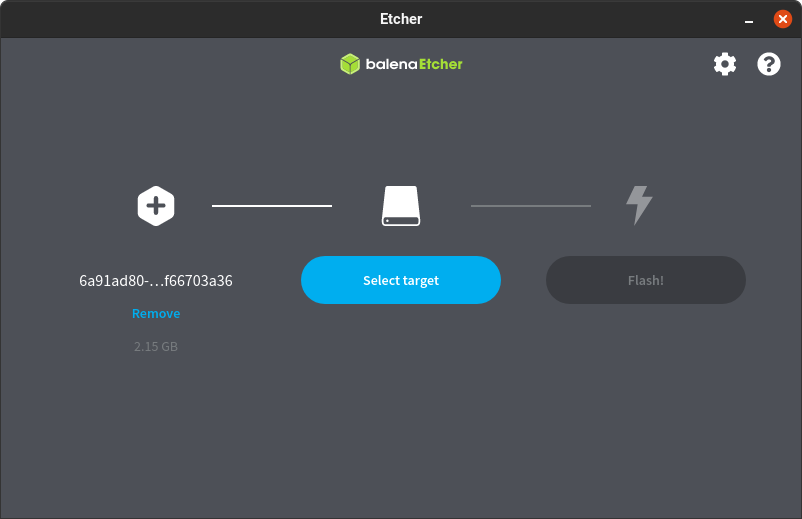
- Insert the SD card to your computer
- Select the Select target button and select the SD card as target.
Step 4
Writing the image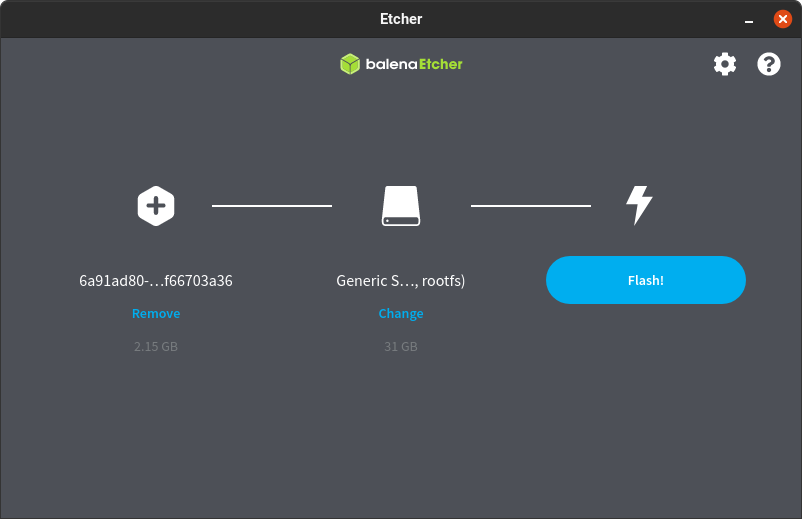
- To start writing the image to the SD card, select Flash!.
Step 5
Flash complete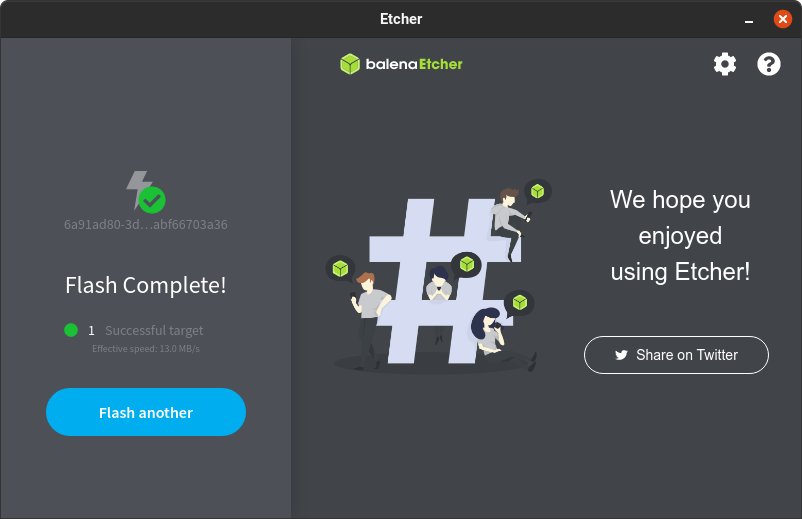
- Once Balena Etcher has finished writing the image, you will see a confirmation.
- You can now remove the SD card.
Resetting the device
Step 1
Shutting down the system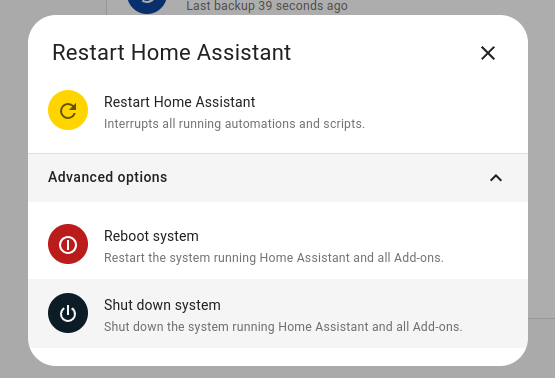
- In your Home Assistant UI, go to Settings > System and in the top right, select the three-dots menu. Select Restart Home Assistant.
- Then, select Shut down system
- Wait until all the LEDs turned off.
- In case the shutdown via UI should not work:
- To shutdown gracefully, press the power button for 6 seconds.
- For a hard shutdown (do this only if all else fails), press the power button for 12 seconds.
Step 2
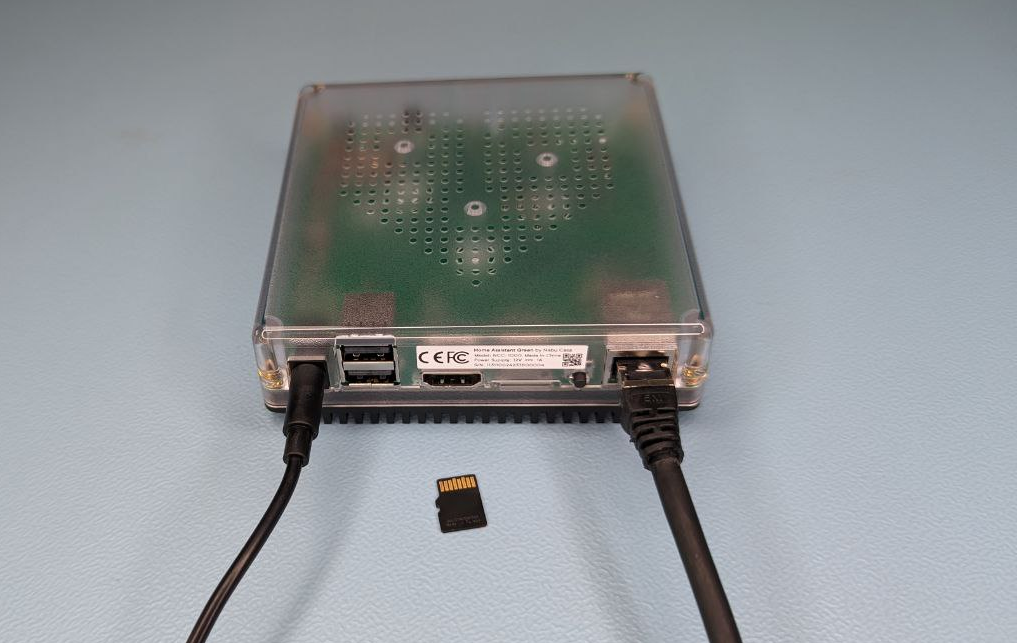
Inserting the SD card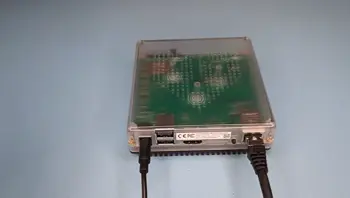
- Insert the SD card with the Home Assistant Green OS installer.
- Make sure the Home Assistant Green is connected to the Internet.
Step 3
Powering up the system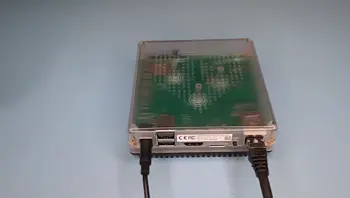
- Press the power button.
- The operating system is being written to the eMMC.
- During this time, the yellow LED is blinking fast.
- Wait for the LEDs to turn off.
Step 4
Removing the SD card
- When the LEDs turn off, the operating system has been written to the eMMC.
- Remove the SD card.
Step 5
Powering up the system
- Press the power button.
- Once the yellow LED blinks in a heartbeat pattern, the system is ready.
Step 6
Getting started with Home Assistant
- Info: Initial startup may take a while, depending on your internet connection.
- Install the appTo access Home Assistant from your mobile device, use the QR code to locate the app in the app store.
- Select your Home Assistant server:
- Mobile: Confirm the IP address detected by the app. For example
http://192.168.1.196:8123
- Mobile: Confirm the IP address detected by the app. For example
- Desktop: Visit http://homeassistant.local:8123 to access the Home Assistant user interface.